

5 Urgent Steps: How to Tarp a Roof Safely (2026)
When a severe Central Florida storm tears shingles off your home or drops a heavy branch onto your roof, water intrusion becomes an immediate threat. If a roofing contractor cannot get to your home right away, you need a temporary solution to protect your interior. Many homeowners ask how to tarp a roof themselves.
While Gravity Roofing always recommends professional emergency tarping for safety reasons, we understand that sometimes you need to take immediate action. Here is the ultimate guide on how to tarp a roof safely to prevent further damage until our team arrives.
How to tarp a roof?
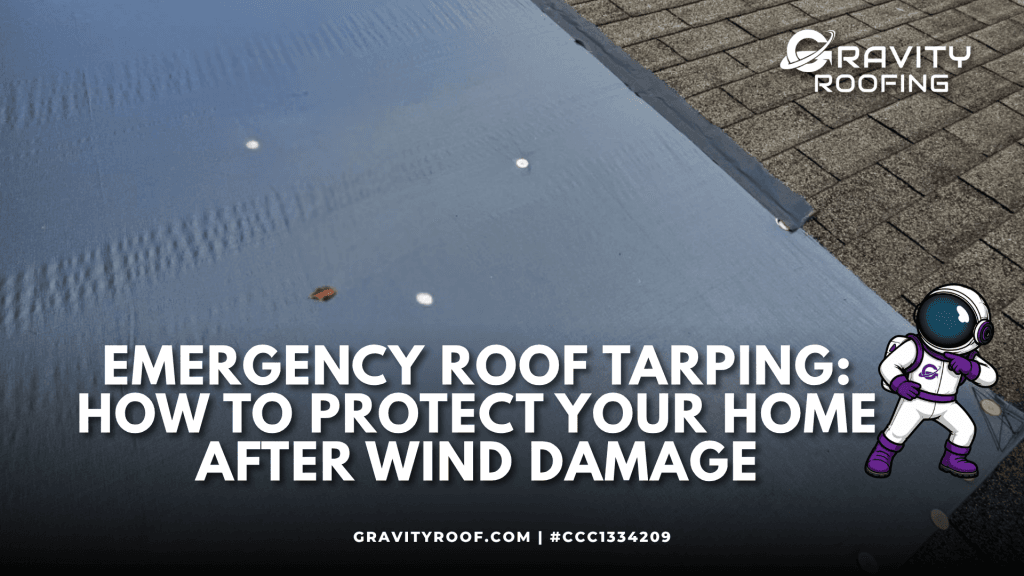
How to tarp a roof safely? First, wait until the storm passes. Unroll a heavy-duty tarp over the damaged area, extending it over the roof ridge if possible. Secure the edges by wrapping them around wooden furring strips and nailing the wood directly into the roof deck, not just the shingles.
5 Critical Steps for How to Tarp a Roof
If you must perform this temporary fix yourself, safety is your absolute top priority. Never attempt to tarp a roof while it is still raining or windy. Wet roofs are incredibly slick. Follow these five steps when figuring out how to tarp a roof:
1. Assess the Damage from the Ground First
Before you even grab a ladder, look at the damage from the ground. If the roof deck appears sagging or structurally compromised, do NOT climb on it. It could collapse under your weight. If the damage is localized to missing shingles, proceed with extreme caution.
2. Gather the Right Materials
To properly execute how to tarp a roof, you need more than just a tarp. You will need a thick, woven polyethylene tarp, several 1×2 or 2×4 wooden boards (furring strips), a hammer, roofing nails (or screws), and a utility knife. Do not use bricks or sandbags to hold the tarp down; they will become dangerous projectiles in the next gust of wind.
3. Position the Tarp Over the Ridge
If the damage is near the peak of the roof, the most effective way regarding how to tarp a roof is to drape the tarp completely over the ridge (the top peak) so it hangs down on both sides. This prevents water from running down the roof and slipping underneath the top edge of the tarp.
4. Secure the Edges with Wood
Never nail a tarp directly into the roof. The wind will easily tear the plastic around the nail heads. The secret to how to tarp a roof securely is to wrap the edges of the tarp around your wooden furring strips several times. Then, nail the wood flat against the roof. The wood acts as an anchor, spreading the tension evenly across the edge of the tarp.
5. Document Before You Cover
Before you completely cover the damaged area, take clear photos. Your homeowners insurance company will need to see the extent of the damage before the tarp was applied. For guidance on preparing for post-storm recovery, you can review the FEMA disaster preparation guidelines.
Why Professional Tarping is Always Better
“Tarping a roof is inherently dangerous, and doing it wrong can actually cause more damage to your home,” warns Taz Crumpler, President of Gravity Roofing. When you nail furring strips into your roof, you are creating new holes that must be properly repaired later.
If you are dealing with storm damage and don’t want to risk climbing a ladder to figure out how to tarp a roof, let the professionals handle it. Gravity Roofing offers fast, secure emergency tarping during business hours to protect your home while we prepare a permanent repair plan.
Contact Gravity Roofing today to book your free, no-obligation roof inspection or get an instant online roof estimate. Call us at (407) 461-0234 or visit us at 14 S Bumby Ave, Orlando, FL 32803.