[et_pb_section admin_label=”section”]
[et_pb_row admin_label=”row”]
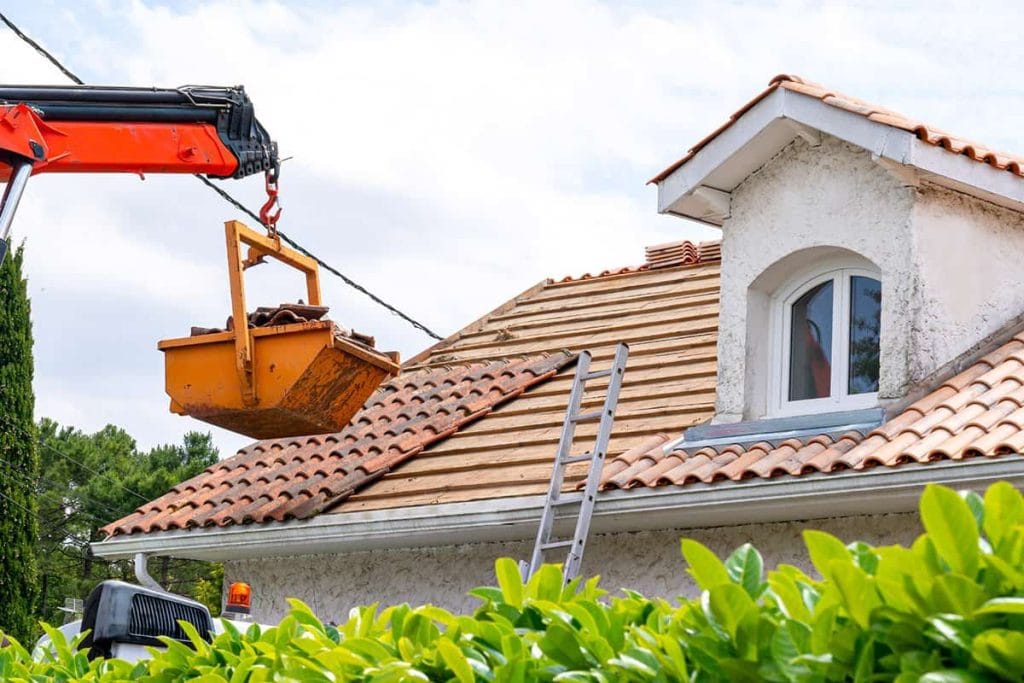
[et_pb_column type=”4_4″][et_pb_text admin_label=”Text”]Your roof is one of the most critical parts of your home, acting as the primary line of defense against the elements. It’s not something you can afford to ignore. So, why wait around for a problem to pop up? Regular inspections can help identify potential issues before they turn into expensive repairs or even replacements. This article aims to provide some DIY tips that will guide you through inspecting your own roof and keep it in top shape.
But before we dive in, remember that inspecting your roof isn’t just about spotting problems; it’s also about preventing them. From identifying hazards and checking for wear and tear to detecting leaks and assessing shingles’ condition – each step is crucial in maintaining a healthy roof. We’ll also discuss when it’s time to call in a professional. So grab your ladder, let’s get started on making sure your shelter remains secure and robust!
Understanding the Importance of Regular Checks
Imagine the peace of mind you’d feel, knowing that regularly checking your roof could save you from costly and unexpected repairs down the line. You see, prevention is always better than cure; this couldn’t be truer in terms of maintaining your home’s roof. Engaging in preventive maintenance by conducting regular checks can help identify any minor issues before they escalate into major problems. It’s all about being proactive, ensuring that your roof is in top condition to withstand whatever Mother Nature throws at it.
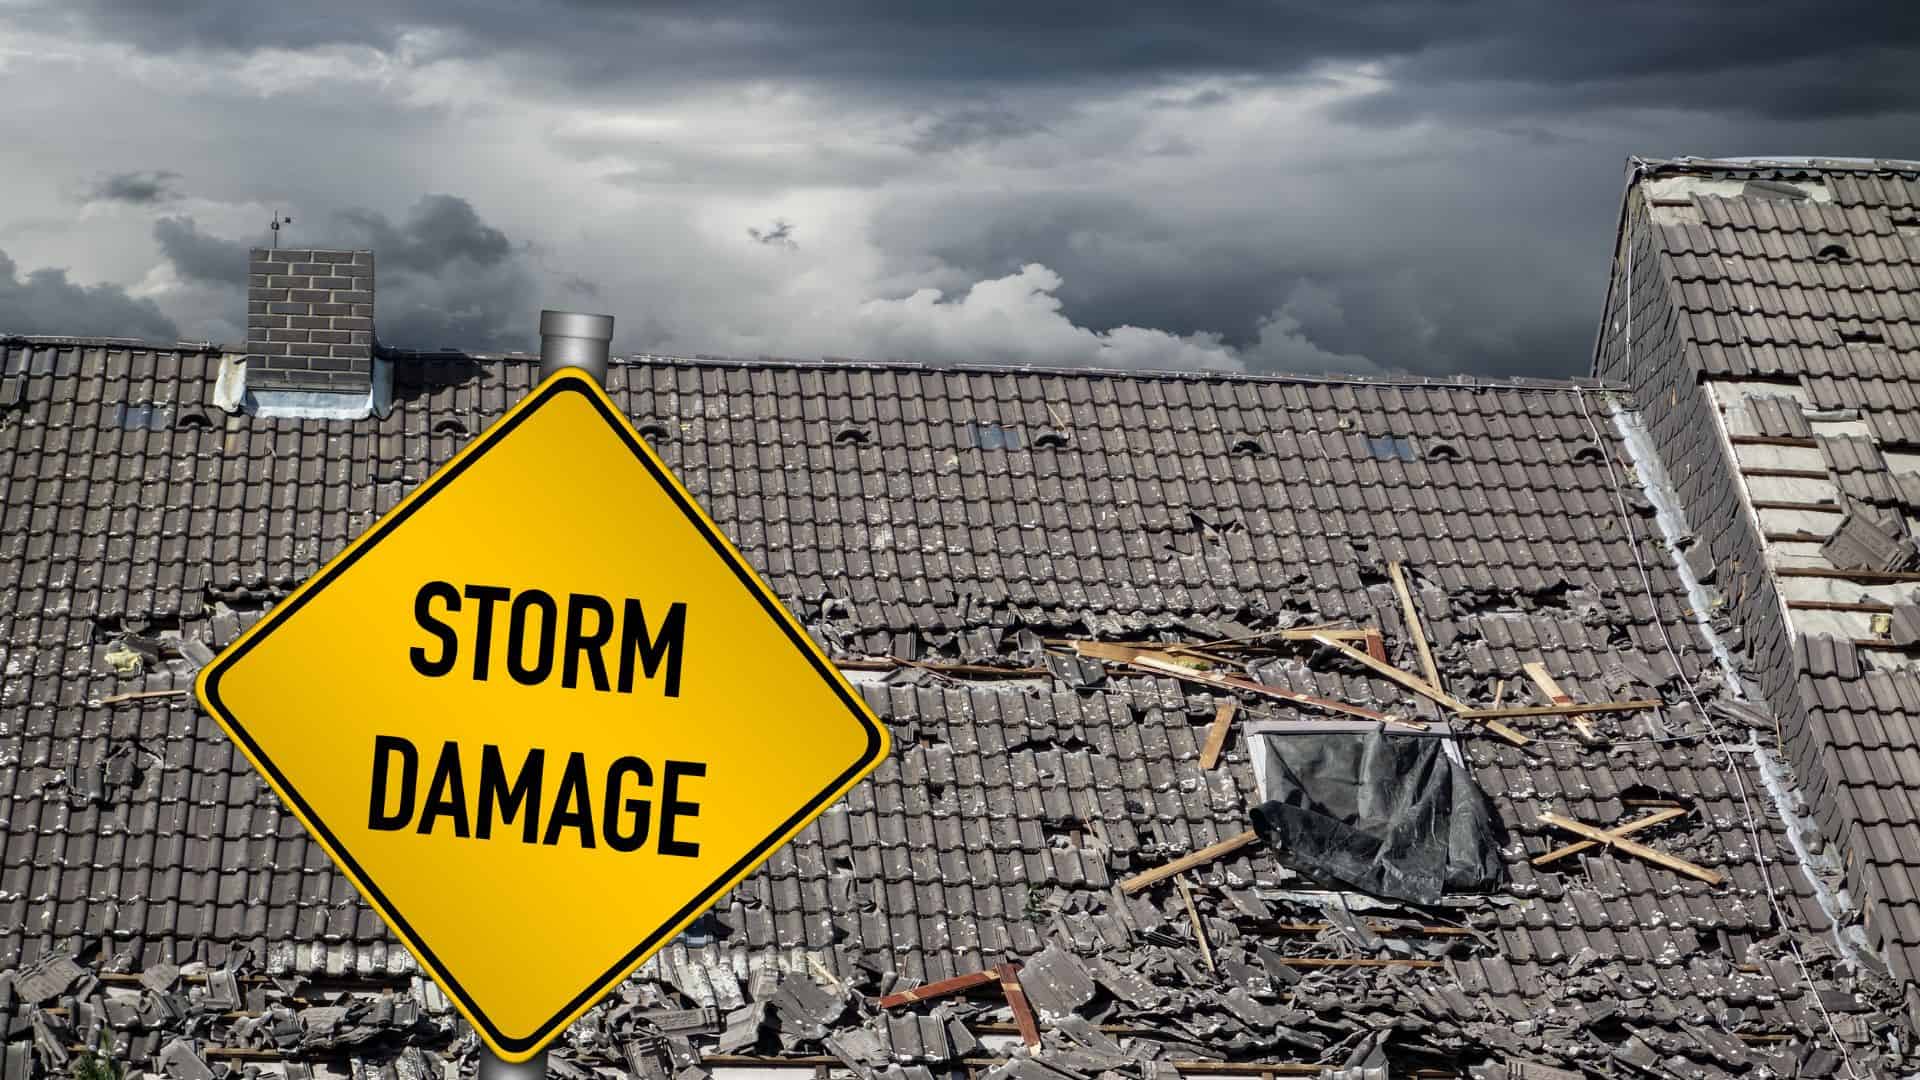
The importance of these regular inspections becomes even more crucial when considering seasonal effects on your rooftop. Think about it: harsh winters can lead to ice damming and snow buildup while scorching summers might result in cracked or warped shingles due to extreme heat exposure. Even spring and fall aren’t innocent – heavy rainfall can cause leaks while falling leaves may clog up gutters and downspouts leading to water damage. By inspecting your own roof seasonally, you’re essentially staying one step ahead, minimizing potential damage caused by weather changes throughout the year.
Identifying Potential Hazards
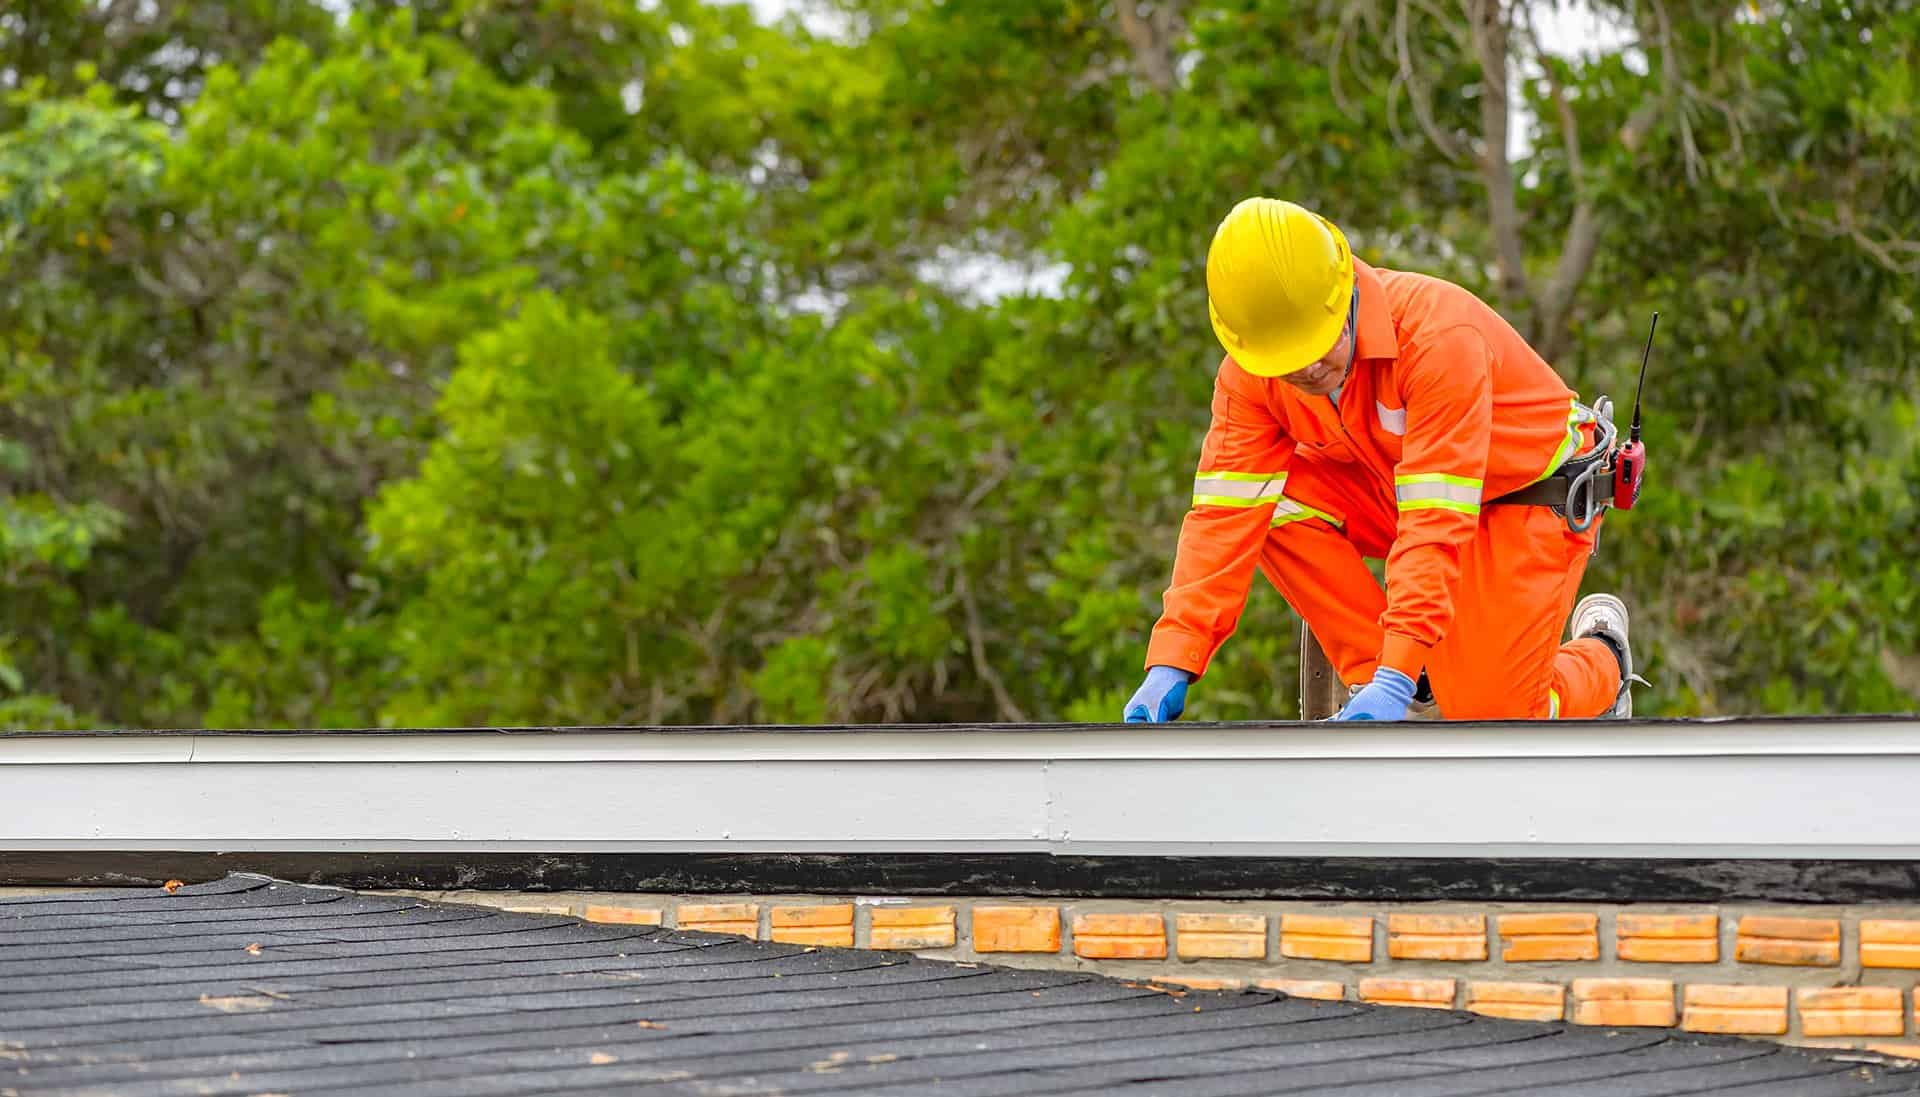
Feeling a bit anxious? It’s understandable, as identifying potential hazards can be quite intimidating but don’t worry, you’re not alone in this. Roof inspections are all about keeping an eye out for any signs of damage or wear that could potentially lead to bigger problems down the line. As part of your safety precautions, always ensure to use protective clothing and gear such as sturdy boots with good grip, gloves and a hard hat to protect yourself from any unforeseen issues.
When inspecting your roof, keep an eye out for hazardous materials like moss or algae growth which can cause slippery surfaces and make your roof inspection dangerous. Look for loose shingles or damaged flashing which can lead to leaks and water damage. Additionally, if you have a chimney or skylight installed on your roof, check their seals and structures for any possible damages. Be aware of rusty areas as they might be hiding more severe structural issues underneath. Remember, taking these safety precautions while conducting your own DIY roof inspection will not only save you from potential harm but also help in maintaining the longevity of your roofing system.
Checking for Signs of Wear and Tear
As you ascend the ladder, don’t let your guard down; every inch of that weather-beaten surface can whisper tales of unseen wear and tear. Your roof’s material durability plays a significant role in its resistance to damage over time, but nothing lasts forever. Keep your inspection tools close at hand—a good flashlight, a sturdy pair of binoculars, or even a drone with a camera can help you spot issues from afar. Be on the lookout for loose or missing shingles, cracked tiles, rusted metal panels or any other signs that tell you your roof is showing its age.
In the second phase of your DIY roof inspection, give special attention to areas around chimneys, vents and other elements protruding from the roof. These are often hotspots for wear and tear because they disrupt the uniformity of the roofing surface. A chimney that has lost its flashing may allow water seepage into your home while deteriorated rubber boots surrounding vent pipes might lead to leaks as well. Remember: catching these signs early could save you from costly repairs later on!
Spotting Leaks and Water Damage
Don’t let a little water damage turn into your worst nightmare, catch those pesky leaks before they wreak havoc on your home. Start by inspecting areas prone to collecting water, such as gutters and downspouts. Keep an eye out for any discoloration in the ceiling or walls – this could be a clear indication of water seeping in through the roof. Pay particular attention to condensation issues, which are often mistaken for minor problems but can actually signal more serious roofing defects.
While you’re at it, don’t forget to do an attic inspection. This is a critical step in spotting leaks and assessing potential water damage because it’s usually where evidence first appears. Look for signs like damp insulation, mold growth, or staining on the wood and beams up there. And if you notice a musty smell that’s another red flag – it may indicate trapped moisture due to poor ventilation or unnoticed leaks in your roof system. So grab a flashlight and make your way upstairs; early detection saves both time and money!
Evaluating the Condition of Shingles
Next on your checklist should be a thorough assessment of the state of your shingles, which can reveal a lot about the overall health and longevity of your home’s top layer. Pay close attention to the coloration. If you notice that some shingles have dark or wet spots, it could mean they’re holding moisture – a sign of potential water damage. The discoloration may also be due to aging or sun exposure, which can weaken their protective capabilities. Different types of shingles such as asphalt, wood, tile or metal all show signs of wear differently so make sure you know what to look out for.
The different types of shingles require different inspection methods too. Asphalt shingles tend to lose their granules over time; if you see these small particles in your gutters or downspouts, it’s a sign they’re nearing the end of their life span. Wood shingles may split or curl when they age and are more prone to rotting than other types. On tile and metal roofs, look for cracked or loose tiles and rust respectively. A comprehensive check allows you to identify problems early enough before they become bigger issues that need costly repairs.
Assessing the Gutter System
Moving on to the gutter system, it’s crucial to ensure that it’s properly channeling water away from your house. If not, you could face serious problems, like water damage or foundation issues. Start by checking for any visible signs of damage such as cracks, rusts, or leaks in the gutters. Also, look out for sagging gutters or areas where water pools instead of flowing freely. Use gutter cleaning techniques like using a stiff brush to scrub away any debris and then flushing it with a hose.
If your gutter system is old or constantly giving you problems despite regular maintenance, consider gutter system upgrades. Upgrading can include installing guards to prevent leaves and debris from clogging up your gutters or replacing your current material with something more durable like copper or aluminium. Remember that while DIY roof inspections can help maintain your roof’s health between professional inspections, they don’t replace the need for an expert’s eye now and again. So if you spot anything concerning during your inspection – especially when looking at key elements like your shingles and gutter system – don’t hesitate to call in a pro!
When to Call in a Professional
While it’s certainly beneficial to keep an eye on the state of your home’s exterior, there are times when you’ve got to admit that a professional’s expertise is indeed necessary. If your DIY roof inspection reveals significant damage such as large cracks, missing shingles, or signs of water damage inside your home, it’s time to call in a pro. Similarly, during emergency situations like after a major storm or if you see visible sagging, don’t hesitate to get help. You may balk at the idea due to professional costs but remember, neglecting serious issues can lead to even more costly repairs down the line.
Despite being comfortable with small fixes and maintenance tasks around your house, certain jobs demand training and experience that only professionals possess. For example, if you notice mold growth or extensive weather-related damages which are often tricky to handle without specialized knowledge and tools. Trying to take care of these problems yourself might result in further harm not just to your roof but also potentially endangering yourself. Weigh the likely higher professional costs against potential safety risks and additional property damage – sometimes it’s wiser and more cost-effective in the long run calling in help early on rather than attempting a DIY fix.
Conclusion
In conclusion, keeping an eye on your roof’s health isn’t just smart; it’s essential. With regular checks and knowing what hazards to look for, you can ensure that minor issues don’t escalate into major problems.
Don’t forget, if things look too complicated or the damage seems extensive, there’s no shame in calling a professional. They’ll help you keep your home safe and sound. Always remember, prevention is cheaper than cure![/et_pb_text][/et_pb_column]
[/et_pb_row]
[/et_pb_section]